Let’s Get Spooky: Why These Cookies Are a Must-Make
Okay, let’s be real for a second. Halloween baking should be fun, not a full-on nightmare. You want to create those show-stopping, creepy Halloween treats that make everyone go “WHOA,” but you also don’t want to spend your entire night covered in melted chocolate, questioning your life choices. That’s exactly why I’m utterly obsessed with these Easy Scary Peanut Butter Spider Cookies. They are the holy grail of Halloween cookies: terrifyingly cute, deliciously peanut buttery, and honestly, almost impossible to mess up.
I’ve been making this exact spider cookie recipe for years, and it’s the one Halloween dessert that never, ever fails to steal the show. It’s the perfect easy Halloween baking project that delivers maximum spooky impact with minimal kitchen stress.
The Magic Behind These Eight-Legged Treats
What makes this the best peanut butter spider cookies recipe out there? First, it’s the ultimate easy Halloween baking project. We’re talking about a simple, no-chill peanut butter cookie dough that comes together in one bowl. No fancy equipment, no complicated steps—just straightforward, delicious cookie magic. Second, these are the perfect Halloween treats for parties. They’re a total crowd-pleaser, loved equally by kids and adults. The classic combination of peanut butter and chocolate is a universal win, and the fun, creepy-crawly presentation makes them a centerpiece for any Halloween party table. They’re the kind of easy scary treats that look like you spent hours on, but we’ll just keep our little secret.
Your Secret Weapon for Cookie Perfection
The true secret to achieving the perfect spider cookie—one that holds its shape, supports its pretzel legs, and has that ideal soft-yet-crunchy texture—is all in the peanut butter. For the best results, you must use a conventional, shelf-stable creamy peanut butter like Jif or Skippy. Avoid the natural, oily kinds where the oil separates. Those can make your cookie dough too greasy, causing your scary spiders to spread too thin and potentially break under the weight of their own deliciousness. A thicker, emulsified peanut butter gives you a sturdier dough, creating the perfect base for your edible spiders to take shape.
Become a Spider Cookie Decorating Pro
Want to ensure your creepy Halloween cookies are absolutely flawless? Here are my top tips.
Cool Completely for Clean Eyes: The number one tip for decorating these easy peanut butter cookies is patience. Let the cookies cool completely on the baking sheet before you dot on the chocolate pupil eyes. If the cookie is even slightly warm, the chocolate will melt and smear, giving your spiders a surprised, googly-eyed look instead of a scary one.
The Toothpick Trick: For pinpoint precision with the eyes, use a toothpick dipped in melted chocolate. If you’re new to working with melted chocolate, this fantastic visual guide on Homemade Chocolate Whoopie Pies has great tips that apply to any project. It gives you surgeon-like control.
Leg Attachment: Press the pretzel legs into the cookies the moment they come out of the oven. The warmth of the cookie will help them adhere as they cool. If you forget, a tiny dab of melted chocolate acts as fantastic edible glue.
Get Creative: 3 Ways to Mix It Up
This is where you can get creative and make this spider cookie recipe your own! Here are three of my favorite twists on these classic Halloween peanut butter cookies.
1. Double Chocolate Darkness: For the ultimate chocolate lover, add 1/4 cup of unsweetened cocoa powder to the dry ingredients, just like we do in our famously spooky Easy Halloween Black Cocoa Ghost Cupcakes. This creates a deep, dark chocolate cookie that looks even more sinister.
2. Googly Monster Eyes: Transform your spiders into a cyclops monster! Skip the pretzel legs and use a full-sized chocolate-covered pretzel for the iris. Add a small dollop of white icing and a tiny chocolate pupil to create a giant, terrifying monster eye cookie.
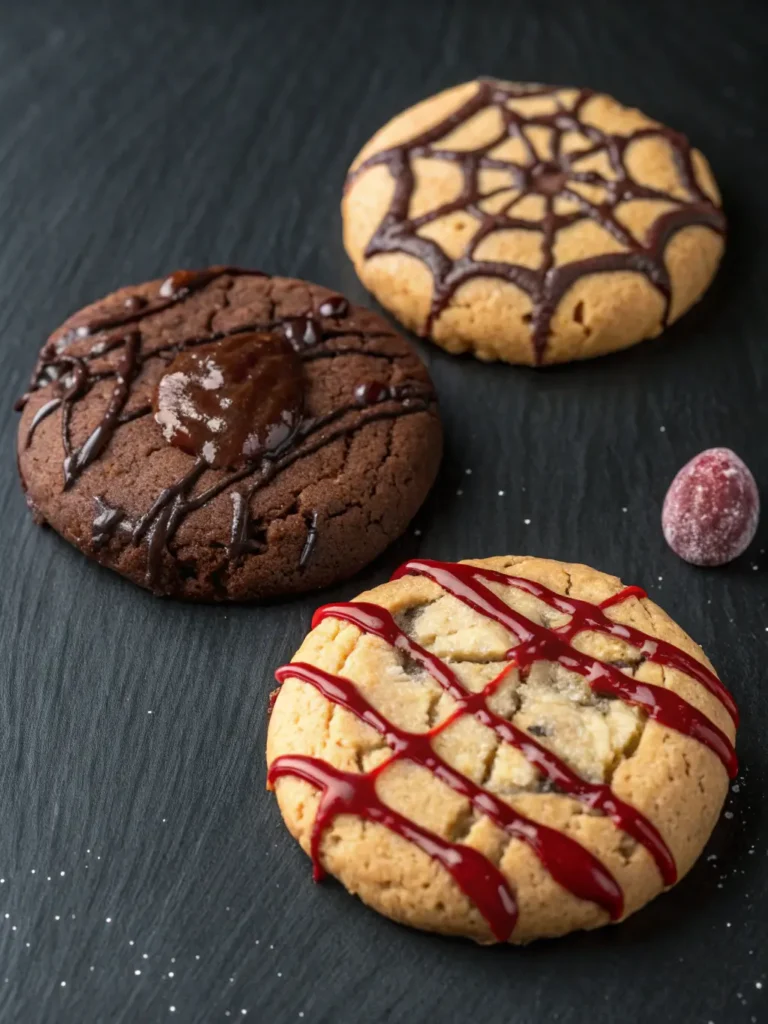
3. Gruesome Raspberry Drip: Add a gruesome touch perfect for Halloween party ideas. After assembling your spiders, gently drizzle them with a little red raspberry jam or red tinted white chocolate. It looks like blood and adds a fantastic sweet-tart flavor that cuts through the richness.
Ready to Bake Some Memories?
At the end of the day, these Easy Scary Peanut Butter Spider Cookies are more than just a recipe; they’re a guaranteed ticket to a fun, memorable, and delicious Halloween baking experience. They are the easiest scary cookies to make for a reason, and with these three fun variations, you can whip up a whole platter of unique creepy crawlies that will be the talk of any Halloween gathering. So grab your bowl, your favorite peanut butter, and get ready to bake the most fun and festive Halloween treats of the season.
Print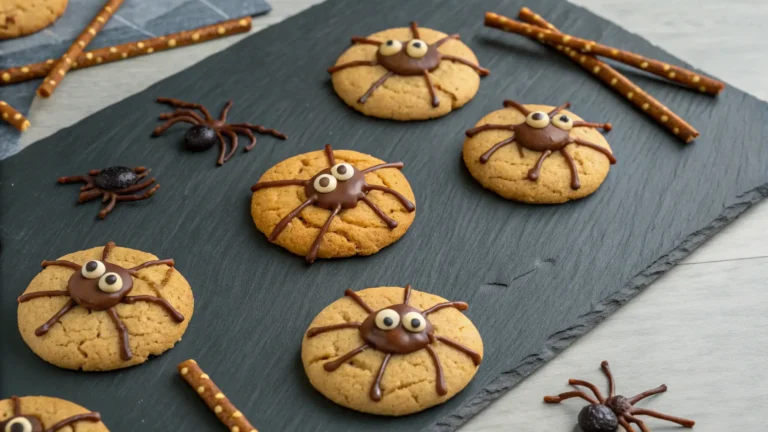
Easy Scary Peanut Butter Spider Cookies: 3 Fun Variations
These Easy Scary Peanut Butter Spider Cookies are the perfect no-chill Halloween treat! Made with simple ingredients and decorated with pretzel legs and chocolate chip eyes, they’re a fun, creepy, and delicious project for the whole family.
- Total Time: 25 minutes
- Yield: 24 cookies 1x
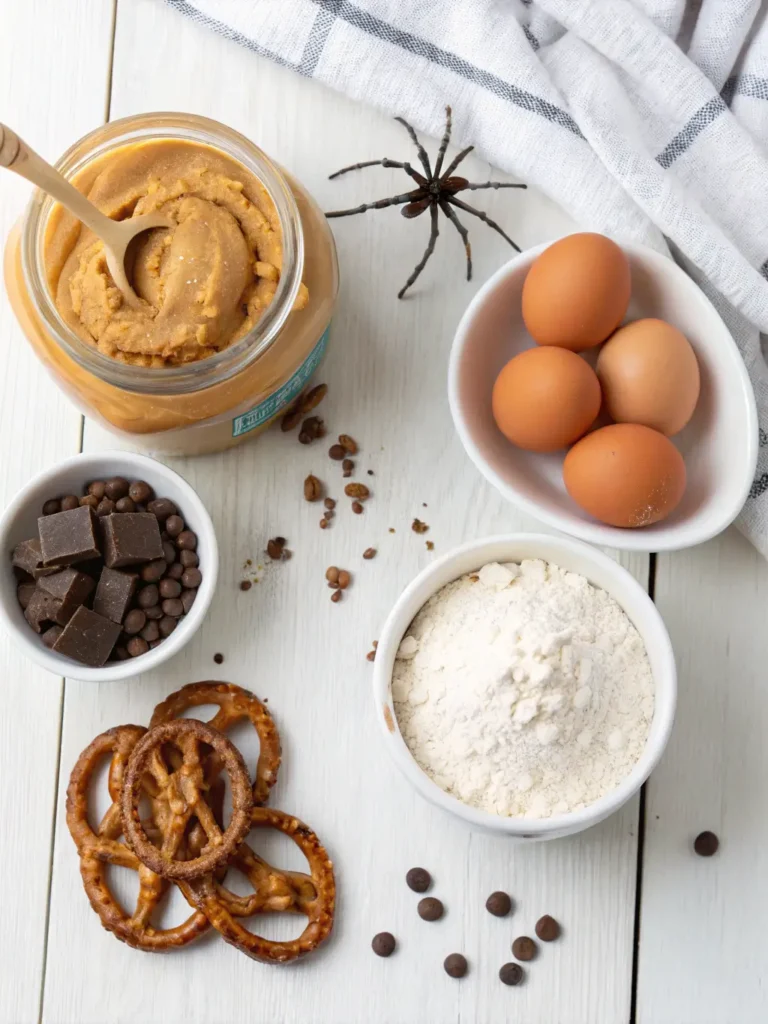
Ingredients
1 cup (250g) creamy peanut butter (not natural/oily)
1 cup (200g) granulated sugar
1 large egg
1 teaspoon vanilla extract
½ teaspoon baking soda
Pinch of salt
48 thin pretzel sticks, broken in half (for 96 legs)
48 semi-sweet chocolate chips (for eyes)
1 tablespoon melted chocolate (for attaching pupils)
Instructions
Prep: Preheat your oven to 350°F (175°C). Line two large baking sheets with parchment paper.
Make Dough: In a medium bowl, combine the peanut butter, sugar, egg, vanilla extract, baking soda, and salt. Mix with a wooden spoon or spatula until a uniform dough forms.
Scoop: Roll the dough into 24 equal-sized balls (about 1 inch each). Place them 2 inches apart on the prepared baking sheets.
Bake: Bake for 8-10 minutes, or until the edges are just set and the tops look slightly cracked. The cookies will be very soft.
Shape & Legs: Immediately upon removing the cookies from the oven, gently press down on each one with the back of a spoon to slightly flatten. While the cookies are still hot and soft, carefully press 8 pretzel stick halves (4 on each side) into each cookie to form the spider legs. Allow cookies to cool completely on the baking sheet. They will firm up as they cool.
Eyes: Once completely cool, use the melted chocolate and a toothpick to “glue” two chocolate chips onto each cookie for eyes. Use the toothpick to add a tiny dot of melted chocolate to the center of each chocolate chip to form pupils. Let the chocolate set before serving.
Notes
Peanut Butter is Key: Using a standard, shelf-stable peanut butter (like Jif or Skippy) is crucial for the right texture. Natural peanut butter will make the cookies oily and too fragile.
Work Quickly with Legs: The pretzel legs must be inserted while the cookies are still warm and soft from the oven. If the cookies cool too much, the legs will break when you try to insert them.
Storage: Store finished cookies in an airtight container at room temperature for up to 5 days. The pretzels will stay crisp for about 2 days before starting to soften.
- Prep Time: 15 minutes
- Cook Time: 10 minutes
- Category: Dessert
- Method: Baking
- Cuisine: American
- Diet: Vegetarian
Nutrition
- Serving Size: 1 cookie
- Calories: 142 kcal
- Sugar: 11g
- Sodium: 95mg
- Fat: 7g
- Saturated Fat: 2g
- Unsaturated Fat: 4g
- Trans Fat: 0g
- Carbohydrates: 16g
- Fiber: 1g
- Protein: 4g
- Cholesterol: 8mg