Graveyard Pudding has honestly saved my hide during those frantic October afternoons when the kids announce, Hey Mom, I said I’d bring treats for class! Today!
It’s got the perfect spooky factor, and let’s get real, who can resist layered pudding, cookies, and candy? I stumbled on this recipe while looking for a not-boring Halloween dessert that’s fast and doesn’t trash the kitchen.
Also, if you dig pudding desserts, you might love this rice pudding recipe too. Graveyard Pudding Cookie Cups always get lots of oohs and ahhs—just don’t be shocked when everyone asks for seconds.
Halloween Treats
Let me just say, Halloween is basically a license for sugar and silliness. If you’re tired of those store-bought cupcakes that look like they’ve melted in the grocery bag, these pudding cups are for you.
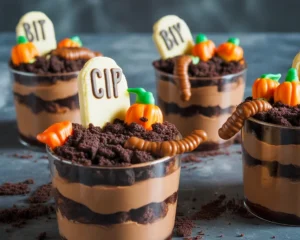
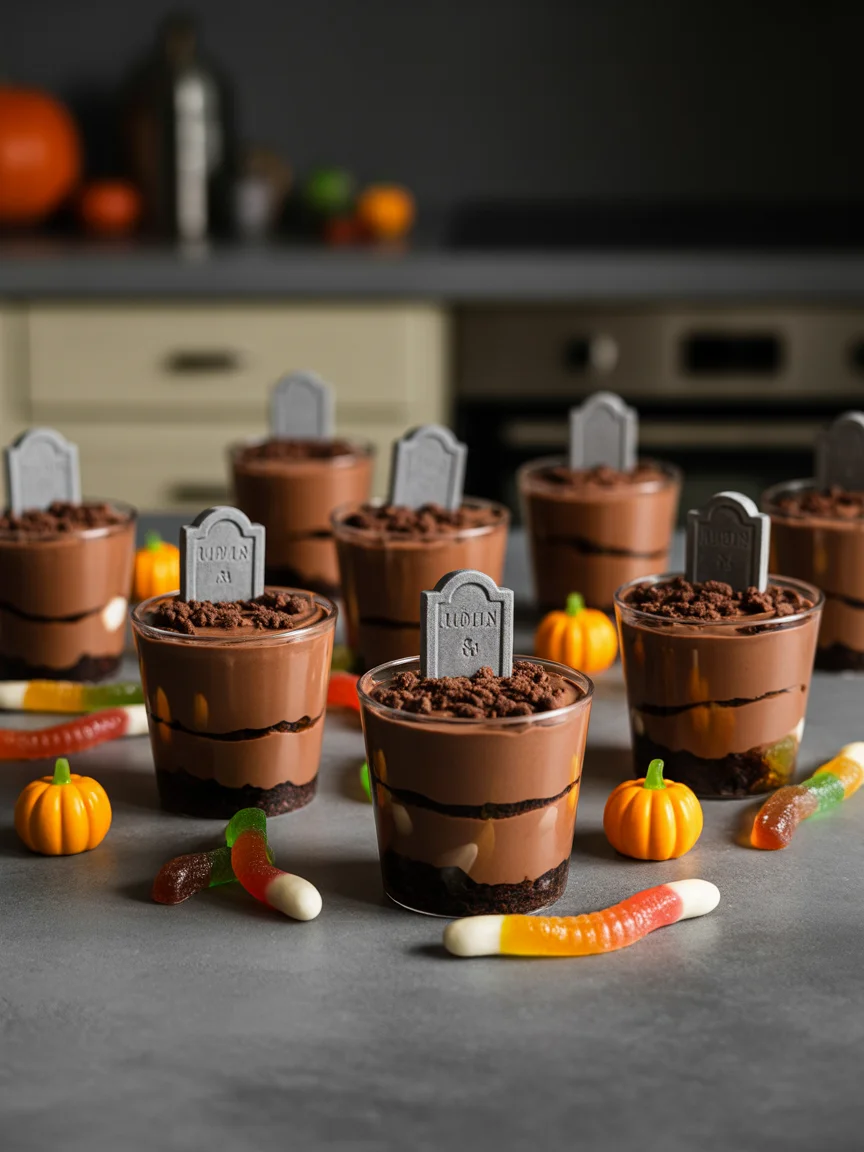
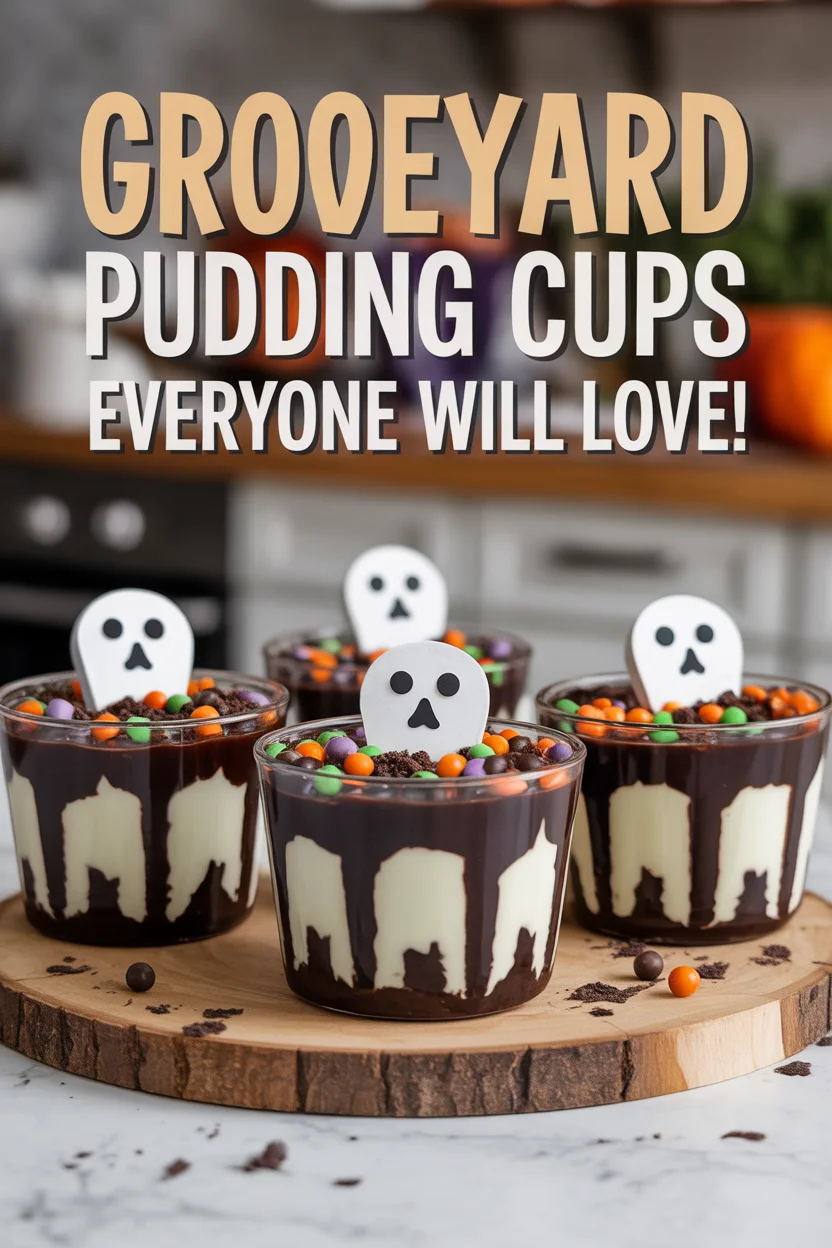
The setup? Individual cups filled with chocolate pudding, crushed cookies, and some “tombstone” cookies or gummies on top—kids flip for this stuff. Honestly, the more ghoulish you get, the better.
I remember last year, my neighbor brought those fancy DIY caramel apples. Pretty, yeah, but my “buried worms” pudding cups got attacked first. Somehow, making food look a little gross makes it even tastier this time of year.
So don’t be afraid to let things look messy or creepy. That’s sort of the point! Whether it’s for your own goblins or a rowdy Halloween party, these treats just fit right in.
How To Make Graveyard Pudding Cups
Alright, here’s the no-fuss rundown. You only need a handful of ingredients—I promise, nothing fancy or “chef-y.” Grab some instant chocolate pudding (the boxed stuff is totally fine), cold milk, whipped topping, and chocolate sandwich cookies (like Oreos).
You’ll want some gummy worms or bone-shaped candies for that extra Halloween punch. Oh, and don’t forget those oval-shaped cookies for little “tombstones.”
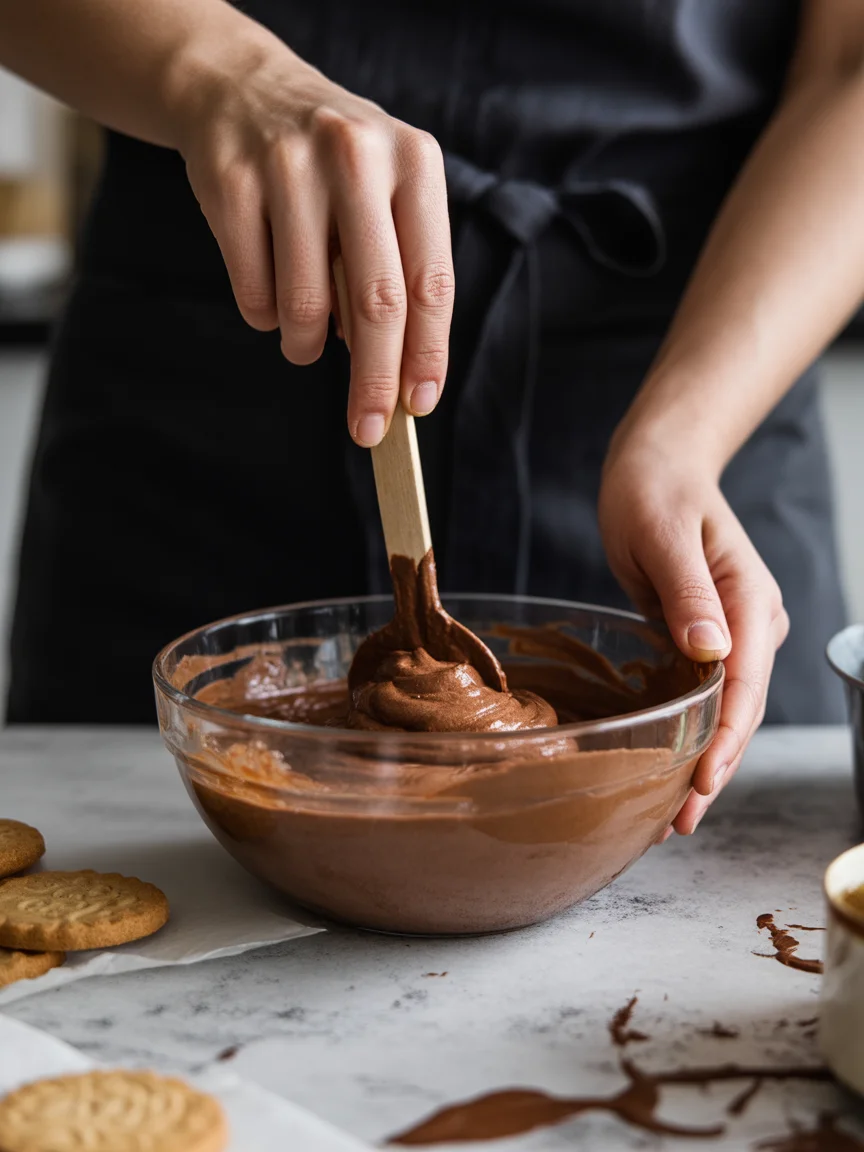
First, whip up the pudding with the milk and let it thicken for five or so minutes. Then, fold in the whipped topping for extra creaminess (I use Cool Whip because…easy). Next, smash up a sleeve of cookies. You can crush them in a plastic bag with a rolling pin—great stress relief, honestly—or in a food processor if you’re fancy.
Now, just layer! Pudding goes into each cup, sprinkle a thick layer of cookie “dirt,” and poke in your gummy worms or candy bones. Use a food marker to write “RIP” on the tombstone cookies and stick ‘em in the cups standing up.
FYI—kids can totally help with assembly. They love the mess. The hardest part is not eating all the candy before it’s time to serve.
Serving and Storing
People always ask, “So, do I serve these right away?” Here’s my spin. They’re best when cold, but honestly, slightly soft cookies in the pudding are kind of magical too.
Serving Suggestions:
- Chill in the fridge for at least 1 hour before serving (firmer pudding, yum).
- Pop spoons right in the cups so party guests can just grab and go.
- If you’re traveling, cover cups with plastic wrap so the toppings don’t get soggy.
- Serve on a black tray with some Halloween confetti for big creepy-cute vibes.
As for leftovers, cover and stash ‘em in the fridge. They’re good for a couple days, but after that, things get a little too mushy. Honestly—these barely last past day one in my house.
Variations
Here’s where you can get creative—sometimes I switch up flavors just to mess with people’s heads. If you or the kids aren’t feeling chocolate, swap the pudding for vanilla and tint it green or purple with food coloring for a mad-scientist vibe. You can use graham crackers for “sand” if you’re anti-chocolate (hey, it happens). For gluten-free folks, grab those GF sandwich cookies.
Another neat trick—DIY meringue ghosts or marshmallow monsters on top instead of cookies. Totally over-the-top, but turns out adorable. Peanut butter cookies for “muddy” flavor? Definitely a yes. Basically, as long as it’s layered and looks like a graveyard, you’re winning Halloween.
You can also draw bloodshot eyes or spiders with icing if you’ve got the patience. Skip the headstones if you want, no biggie—my little nephew just wanted “gummy ooze” everywhere. This recipe’s crazy flexible.
Trish’s Tips and Tricks
Here’s the part where I blab the stuff I’ve figured out the hard way. Pudding mixes up fast, so set all your toppings out before you start—saves time. If you’re carting these to a school function, use clear plastic cups (party store has loads). If you need to make a big batch, do trays instead of cups and just scoop into bowls. No one’s judging. And let’s not even pretend we’re gonna use fancy spoons—plastic works fine.
Worried about soggy cookies? Crush and sprinkle toppings right before serving if you’re a perfectionist (I try, but rarely succeed). Have extra candies on hand since they “disappear” while you’re working. As for writing on the cookies, let the food marker dry for a minute. Otherwise, you get “RIP” smeared everywhere—not ideal, unless your theme is zombies eating tombstones.
And last bit—don’t overthink it. Messier pudding cups always get more laughs.
Why You Need to Try These This Halloween
Alright, not gonna lie, Graveyard Pudding Cookie Cups are now a Halloween non-negotiable at my house. They’re fast, genuinely easy, and people can’t stop talking about them. If you want something quirky, festive, and majorly kid-approved, give ’em a spin.
If you’re in the mood for other offbeat desserts, check out My Name Is Snickerdoodle’s awesome Graveyard Pudding Cookie Cups for a slightly different twist or try this killer toffee pudding for a less spooky, super comforting treat. I say—grab your pudding, channel your creepy spirit, and make this Halloween the tastiest one yet.
Print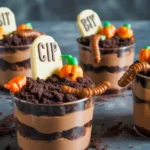
Graveyard Pudding Cookie Cups
A spooky layered dessert perfect for Halloween with chocolate pudding, crushed cookies, and gummy worms.
- Total Time: 70 minutes
- Yield: 6 servings 1x
Ingredients
- 1 package instant chocolate pudding mix
- 2 cups cold milk
- 1 container whipped topping (like Cool Whip)
- 1 sleeve chocolate sandwich cookies (like Oreos), crushed
- Gummy worms or bone-shaped candies
- Oval-shaped cookies for tombstones
Instructions
- In a bowl, whisk the pudding mix with the cold milk and let it thicken for about 5 minutes.
- Fold in the whipped topping until creamy.
- Crush the chocolate sandwich cookies in a plastic bag or food processor.
- In individual cups, layer the pudding, a thick layer of crushed cookies for ‘dirt’, and then poke in gummy worms or candy bones.
- Use a food marker to write ‘RIP’ on the oval cookies and stick them into the cups standing up.
- Chill in the fridge for at least 1 hour before serving.
Notes
These pudding cups are best served cold but taste great with slightly softened cookies. Cover with plastic wrap if traveling.
- Prep Time: 10 minutes
- Cook Time: 0 minutes
- Category: Dessert
- Method: No-Cook
- Cuisine: American
- Diet: Vegetarian
Nutrition
- Serving Size: 1 cup
- Calories: 350
- Sugar: 25g
- Sodium: 180mg
- Fat: 15g
- Saturated Fat: 7g
- Unsaturated Fat: 6g
- Trans Fat: 0g
- Carbohydrates: 50g
- Fiber: 2g
- Protein: 5g
- Cholesterol: 15mg